How to Add a Signature in Word (Line, Image or Digital)
Learn three ways to add a signature in Microsoft Word: a plain signature line, a scanned handwritten image, and a Microsoft Office signature line, with a consulting proposal example.
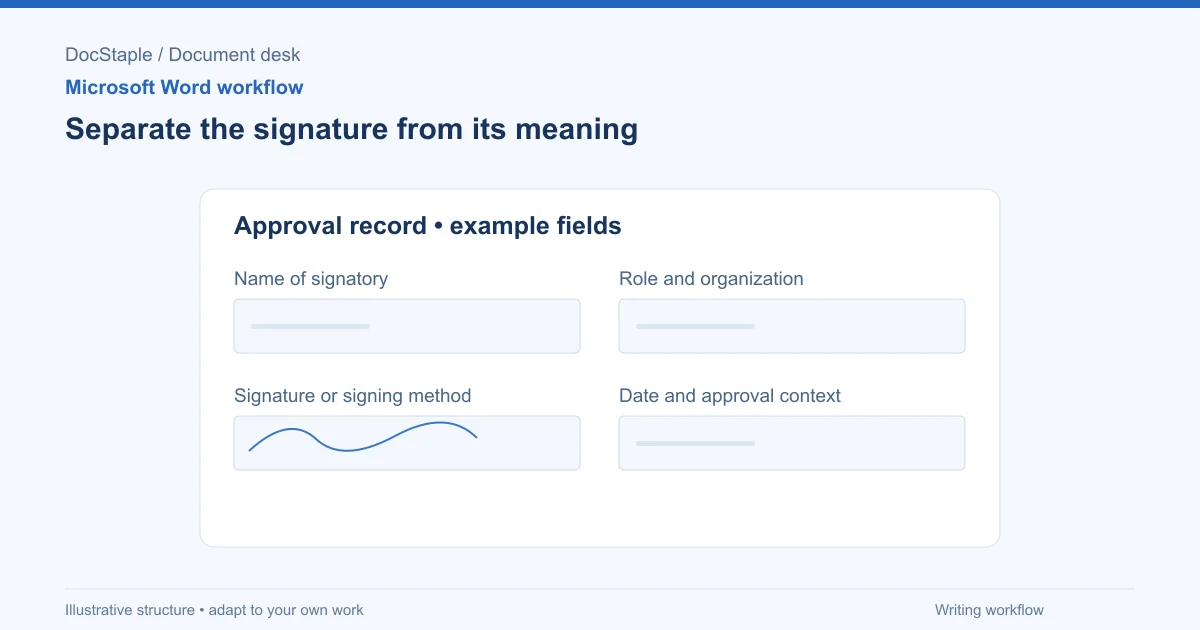
A proposal that cannot be signed is only half finished. Sooner or later, a client sponsor needs a place to put their name, and your team needs a record that shows who approved what. Word offers several ways to do this, and the right one depends on how the document will be signed and who will sign it.
This guide sets out the options in Microsoft Word, applies them to a consulting proposal, and lists the checks to run before the file leaves your team.
Before you start: Word versions and signature types
Which Word versions this covers
Microsoft's article on inserting a signature in a Word document lists Word for Microsoft 365, Word 2024 and Word 2021 on Windows and Mac, plus Word 2019 and Word 2016 on Windows. Its Mac instructions are separate from its Windows ones, so the labels below are marked by platform.
Word for the web is more limited. Microsoft's page on adding a signature in Word for the web says the web version has no command for inserting a signature. Its workaround is to scan your signature, store it as a picture and insert it. Use desktop Word if you need anything beyond that.
Choose the right kind of signature first
"Signature" can mean three different things in a Word file:
- A blank line that someone signs after printing the document, or types beside.
- A picture of a handwritten signature placed in the document.
- A Microsoft Office signature line, which Microsoft's digital signature article describes as a visible line that can be paired with a digital signature.
A printed proposal that will be signed with a pen only needs the first. A document that is signed on screen by the client needs one of the other two. Decide this before you format the signature page, because it changes the layout.
Three ways to add a signature
Option 1: Add a plain signature line
The simplest approach is an underlined space. Microsoft's guidance for a signature line in a printed document is to press Ctrl+U to turn on underline, press Tab several times to draw the line, then press Ctrl+U again to turn underline off.
For a document that will be filled in on screen, a bare underline is awkward: typed text pushes the line along. Microsoft suggests a different approach for online documents: insert a one-cell table, remove every border except the bottom one, and resize it. Then, when someone types on the line, the line stays in place.
This option is the right one for a signature block where names and dates are typed or written by hand. It creates no digital record of who signed.
Option 2: Insert a scanned signature image
To place a handwritten signature in a document, Microsoft's signature article describes this sequence:
- Sign your name on paper and scan it, saving the file as .bmp, .jpg, .png or .gif.
- In Word, go to Insert > Pictures and choose the scanned file. On a Mac, Microsoft names the route as Insert > Pictures > Picture from File.
- Select the image. On the Picture Format tab, choose Crop and drag the handles to trim the white space.
- Right-click the image and choose Save as Picture if you want a clean copy to reuse.
Treat a signature image with care. Anyone who can open the file can copy the picture, so keep a personal signature image out of any document you circulate for editing. Place it only in the copy that you are sending for signing or record-keeping.
Save a reusable signature block
If you sign many documents, a saved block saves time. Microsoft's Windows steps are:
- Type the extra details, such as your job title, phone number and email, beneath the signature image.
- Select the picture and the text together.
- Choose Insert > Quick Parts > Save Selection to Quick Part Gallery.
- Type a name, set the Gallery to AutoText, and select OK.
- To use it later, choose Insert > Quick Parts > AutoText and pick the block.
On a Mac, Microsoft describes selecting the picture and text, then Insert > AutoText > New. To insert it later, go to Insert > AutoText.
Option 3: Add a Microsoft Office signature line
For a document that will be signed electronically in desktop Word, Microsoft describes a signature line. To add one in a Word document on Windows:
- Click where the line should appear.
- Select Insert > Signature Line > Microsoft Office Signature Line.
- In the Signature Setup box, enter details such as the suggested signer's name and title.
Microsoft's digital signature article lists further options in this box, including instructions for the signer, a check box that allows the signer to add comments, and a check box to show the sign date.
The signer then adds a visible signature in one of three ways, according to that article: typing their name beside the X, using the inking feature on a touch device, or selecting an image of a written signature.
Microsoft also says that when a signature line is signed, a digital signature is added at the same time to authenticate the signer, and that the document becomes read-only afterward. Digital signatures need a signing certificate, which Microsoft describes as proof of identity. Check how your organisation and the client obtain and manage those certificates before relying on this route, These Office digital-signature steps are for Windows desktop Word. The cited guidance does not provide equivalent Mac commands; use the image or plain-line methods on Mac, or a signing workflow supported by both parties.
Add an invisible digital signature
Separately from the visible line, Microsoft describes an invisible digital signature for Windows desktop Word: File > Info > Protect Document > Add a Digital Signature, then select a commitment type, enter a purpose and choose Sign. This adds no visible mark on the page. It is worth considering when the receiving party's process asks for it.
Worked example: a consulting proposal
Suppose your team is finalising a proposal for a strategy review engagement. The last section is "Approval and next actions," and the client sponsor is expected to sign. Here is one way to set it up.
Step 1: decide how it will be signed. If the sponsor prints and signs, use a plain signature line. If they sign on screen in Windows desktop Word and have a suitable signing certificate, consider a Microsoft Office signature line. If they only have Word for the web, a plain line with a typed name and date is the safer choice.
Step 2: build the signature table. Keep the layout in a two-column table: one column for the client, one for your organisation. Under each line, add labels for name, title, and date. Leave the fields empty for the signer.
Step 3: add draft language above the block. Here is wording you could adapt:
By signing below, the client sponsor confirms that they have reviewed this proposal, including the scope, deliverables, exclusions, timetable and fees, and approves it on behalf of [client organisation]. Work outside the approved scope requires a written change before delivery begins.
Signed for [client organisation]: ______________________ Name: __________ Title: __________ Date: __________
Signed for [your organisation]: ______________________ Name: __________ Title: __________ Date: __________
This wording is a starting point. Have the engagement lead confirm it, and have a qualified adviser review any commercial terms. If you want a structured starting point with an approval section already laid out, the consulting proposal template is an editable Word file, and the signature steps above work in it in the same way.
Step 4: keep signed and unsigned versions apart. Save the master proposal without any signature images. Create a separate copy for signing and name it clearly, for example "Proposal-Client-SIGNED-v1." That way, your editable master never carries a real signature.
Common problems and how to fix them
The signature image is too large or has a white box. Select the image and use Crop on the Picture Format tab to trim it. Scan on plain white paper with dark ink to keep the image tidy.
The line moves when someone types. You used an underline with tabs. Replace it with the one-cell table approach Microsoft describes for online documents, with only the bottom border showing.
You cannot edit the document after signing. Microsoft says a document with a signed signature line becomes read-only. To change it, remove the signature first (right-click the signature line and choose Remove Signature), make the edit, and have it signed again.
The signature command is missing. You may be in Word for the web, which has no command for inserting a signature. Open the file in desktop Word, or use the picture workaround.
Enforceability and final checks
A note on enforceability
Word puts a signature on the page. It does not decide whether that signature is enough for a particular agreement. Rules about electronic signatures, witnessing and formal requirements vary by jurisdiction and by document type, and some agreements are subject to specific formalities. If the proposal leads to a contract, ask a qualified adviser to confirm how it should be signed. Nothing in a Word file or a template guarantees that a signature will be enforceable.
Final check before you send the document
Before the signature page goes out:
- Confirm the signature block names the correct signer, title and organisation.
- Open the file on the platform the signer will use, or send a PDF for reading and keep the Word file for signing, so the layout holds.
- Check that no real signature image sits in the editable master.
- Save, close and reopen the file. Confirm the signature line, table borders and labels still display as intended.
- If you added a Microsoft Office signature line, send a test copy to a colleague and ask them to walk through signing it before the real signer sees it.
- Store the signed copy and the editable master in separate, clearly named files in your document system.
Sources: Insert a signature in a Word document, Microsoft Support, Add or remove a digital signature in Office files, Microsoft Support, Can I add a signature in Word for the web? Microsoft Support
Last updated: September 26, 2026
Frequently Asked Questions
Related Articles
How to Add Headings in Word (Apply Styles, Check Structure and Fix Problems)
Add headings in Word with built-in heading styles, customize them once, check the structure in the Navigation pane and fix common problems, using a consulting proposal as the example.
How to Add Page Numbers in Word (Step by Step)
Learn the exact menu steps for adding page numbers in Microsoft Word, skipping the cover page, restarting numbering, and fixing common problems in a business proposal.
How to Compare Two Word Documents (Compare, Combine and Side by Side)
Compare two versions of a Word document with Review > Compare, know when to use Combine instead, and run a final check on the result, using a consulting proposal that came back from the client with edits.
How to Create a Template in Word (Save, Reuse and Edit a .dotx File)
Build a reusable Word template from a finished document, save it as a .dotx file, find it again under New, and check it before anyone uses it, using a consulting proposal as the worked example.
How to Create Fillable Forms in Word (Content Controls Step by Step)
Build a fillable form in Microsoft Word with content controls: show the Developer tab, add text, drop-down, date and check box fields, protect the form and test it, using a consulting proposal intake form as the example.
How to Insert a Table of Contents in Word (Step by Step)
Learn the exact menu steps for inserting an automatic table of contents in Microsoft Word, why headings matter, and how to fix common formatting problems.