How to Insert a Table of Contents in Word (Step by Step)
Learn the exact menu steps for inserting an automatic table of contents in Microsoft Word, why headings matter, and how to fix common formatting problems.
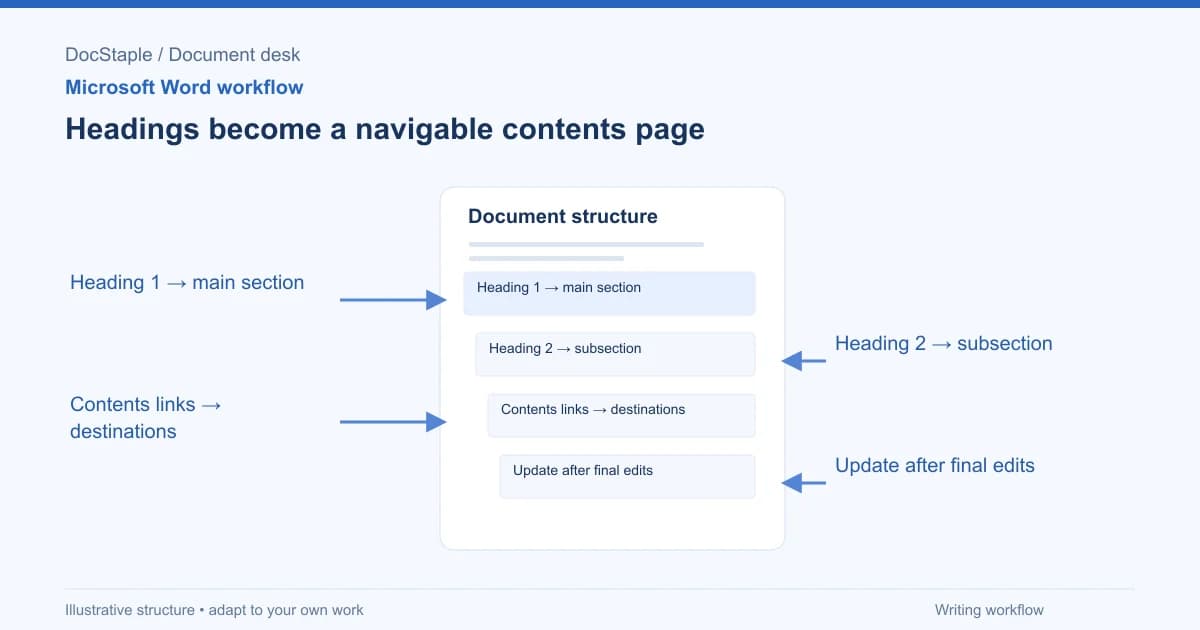
A table of contents tells a reviewer what a document contains and lets them jump straight to the section they need. In a business proposal, it also signals that the document has been prepared carefully before it reaches a client. This guide covers the exact steps for Microsoft Word, on Windows and Mac, using a consulting proposal as the working example.
Which Word version this covers
The steps below cover Word for Microsoft 365, Word 2024, and Word 2021 on Windows and Mac, which are listed in Microsoft's current support guidance. Menu labels can vary by platform; use the References tab as the starting point.
Apply heading styles before you insert the table
A table of contents is generated from heading styles, not from font size or bold text. Before inserting the table:
- Select the text you want to appear as an entry, such as "Scope and deliverables."
- Go to Home > Styles and click Heading 1 for a top-level section, or Heading 2 for a subsection.
- Repeat for every section you want listed.
According to Microsoft's support documentation, missing entries often result from headings that have not been assigned heading styles. Assigning heading styles first also gives you consistent formatting across every section, which matters when a client is comparing your document against a competitor's.
Insert the automatic table of contents
Once your headings are in place:
On Windows:
- Click where you want the table to appear — usually a dedicated page near the start of the document, after the title page.
- Go to References > Table of Contents.
- Choose one of the Automatic Table styles from the gallery.
On Mac:
- Click the insertion point, typically on its own page near the beginning of the document.
- Go to References > Table of Contents.
- Choose an Automatic Table of Contents style.
Word inserts the table using the heading text, in document order, with page numbers aligned to the right margin. Avoid the "Manual Table of Contents" option in the gallery — as Microsoft notes, a manual table uses placeholder text that you type in by hand, and Word will not update it when the document changes.
If you want to control how many heading levels show up, or replace page numbers with something else, use References > Table of Contents > Custom Table of Contents instead of a gallery style. That dialog lets you set the Show levels value (for example, 2 to show only Heading 1 and Heading 2 text) and choose a tab leader style for the dotted line before the page number.
Customize the table for a client-facing document
The default automatic styles work well for internal drafts, but a proposal going to a client sponsor often benefits from a few adjustments made through the Custom Table of Contents dialog:
- Tab leaders. The dotted line between an entry and its page number is a formatting choice, not a fixed setting. Choose a dot leader for a traditional look, or none if your proposal uses a more minimal page design.
- Show levels. If your document only uses top-level section headings, set this to 1 so the table stays short. If you use subsections within a section — for example, breaking "Scope and deliverables" into named work packages — set it to 2 so those appear as indented sub-entries.
- Hyperlinks instead of page numbers. In the same dialog, you can uncheck "Show page numbers" and rely on "Use hyperlinks instead of page numbers," which is useful for a document you expect the client to read on screen rather than print. Both options can be left on together so the table works either way.
Whichever options you choose, apply them once and then use Update Field going forward — reopening the Custom Table of Contents dialog every time you add a section will reset your formatting choices unless you select the same settings again.
Worked example: adding a table of contents to a consulting proposal
Say you're finalizing a proposal for a strategy review engagement. The document has five sections: client need and proposed outcome, scope and deliverables, delivery approach and timetable, fees and acceptance, and approval and next actions. Before sending it to the client sponsor:
- Apply Heading 1 to each of the five section titles.
- Insert an automatic table of contents on the page directly after your cover page.
- Add the client name and engagement name to the cover page, then confirm the table of contents entries match the five sections in the right order.
- After you finish editing — for instance, after adding a sixth section for assumptions and dependencies — select References > Update Table > Update entire table so the new section and its page number appear.
This sequence works the same way in a consulting proposal template built around the same section structure — the table of contents step is the same regardless of which document you start from, because it depends on heading styles, not on any particular template.
Common problems and how to fix them
A heading is missing from the table. Select the heading text again and check the Styles pane — it may have been typed in bold rather than assigned a heading style. Reapply Heading 1 or Heading 2, then update the field.
The table won't update in a shared or reviewed document. If a colleague has turned on Review > Restrict Editing, Word may block updates to fields inside the protected areas. Confirm whether protection is active before assuming the table is broken. Ask the document owner to remove or adjust the restriction, update the table, then reapply protection if it's still needed.
Page numbers look wrong after adding a cover page. The table of contents reflects whatever page each heading currently falls on. If numbers look off after you insert a cover page or change margins, update the field rather than editing the numbers by hand — manual edits will be overwritten the next time anyone updates the table.
The table shows too much detail. If your document uses Heading 3 or Heading 4 for internal formatting rather than for navigation, use Custom Table of Contents and lower the "Show levels" setting so only the sections you want a reviewer to see are listed.
The table of contents disappeared after pasting content from another document. Pasting from a different Word file, or from a PDF, can bring in styles that conflict with your document's heading styles. Check the pasted section's style name in the Styles pane — if it shows something like "Heading 1 (1)" instead of "Heading 1," reapply the correct built-in style and update the table.
Final check before you send the document
Before sending a proposal or any long document to a client:
- Update the table of contents one last time after your final content edit, so page numbers match the finished document.
- Open the PDF or printed preview and confirm the table's page numbers match the actual pages — pagination can shift slightly when a document is converted or printed.
- Confirm every entry uses the same heading level as similar sections. A section that's accidentally left as body text with bold formatting, rather than a real heading, will not appear even though it looks correct on screen.
- Save the file and check that the table of contents still displays correctly after reopening it, particularly if the document will be opened in a different Word version or in a viewer that doesn't fully support Word fields.
A table of contents takes a few minutes to set up correctly, and it's one of the easier signals to a client that the rest of the document has been prepared with the same care.
Sources: Insert a table of contents — Microsoft Support, Create a table of contents — Microsoft Support
For the update command on Windows and Mac, see Update a table of contents, Microsoft Support.
Last updated: September 26, 2026
Frequently Asked Questions
Related Articles
How to Add a Signature in Word (Line, Image or Digital)
Learn three ways to add a signature in Microsoft Word: a plain signature line, a scanned handwritten image, and a Microsoft Office signature line, with a consulting proposal example.
How to Add Headings in Word (Apply Styles, Check Structure and Fix Problems)
Add headings in Word with built-in heading styles, customize them once, check the structure in the Navigation pane and fix common problems, using a consulting proposal as the example.
How to Add Page Numbers in Word (Step by Step)
Learn the exact menu steps for adding page numbers in Microsoft Word, skipping the cover page, restarting numbering, and fixing common problems in a business proposal.
How to Compare Two Word Documents (Compare, Combine and Side by Side)
Compare two versions of a Word document with Review > Compare, know when to use Combine instead, and run a final check on the result, using a consulting proposal that came back from the client with edits.
How to Create a Template in Word (Save, Reuse and Edit a .dotx File)
Build a reusable Word template from a finished document, save it as a .dotx file, find it again under New, and check it before anyone uses it, using a consulting proposal as the worked example.
How to Create Fillable Forms in Word (Content Controls Step by Step)
Build a fillable form in Microsoft Word with content controls: show the Developer tab, add text, drop-down, date and check box fields, protect the form and test it, using a consulting proposal intake form as the example.