How to Create Fillable Forms in Word (Content Controls Step by Step)
Build a fillable form in Microsoft Word with content controls: show the Developer tab, add text, drop-down, date and check box fields, protect the form and test it, using a consulting proposal intake form as the example.
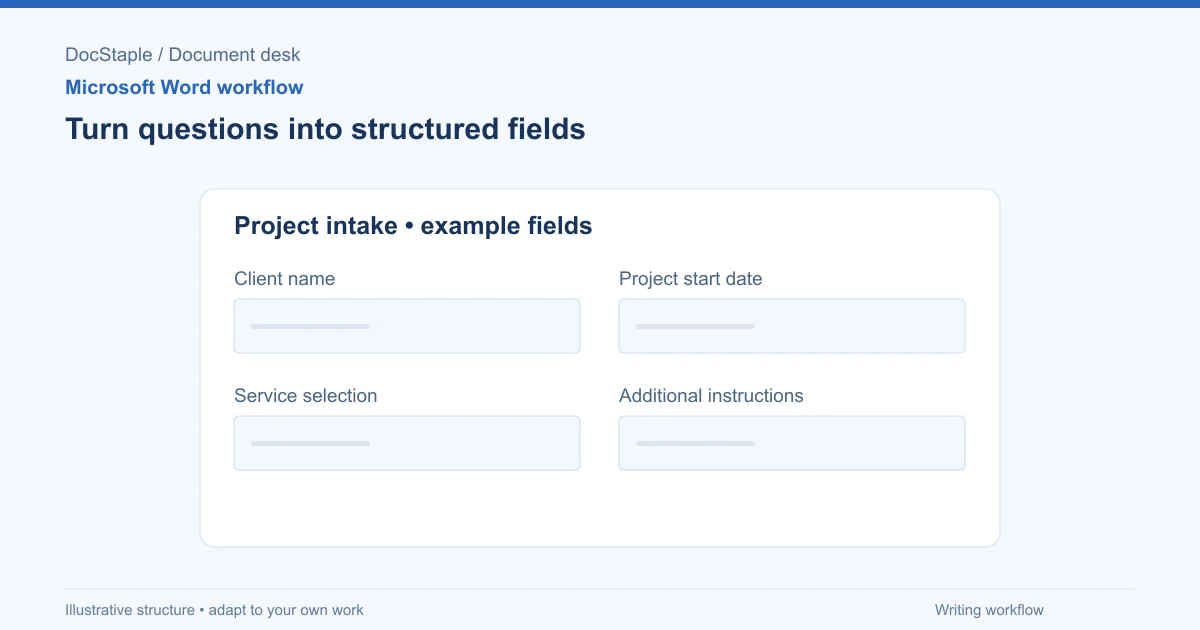
A blank space in a document invites free-form answers, and free-form answers are hard to compare. A form with clear fields does the opposite: it tells the person exactly what to supply and where to put it. Word can do this natively, without add-ins, using content controls.
This guide walks through building a fillable form in Word, applies it to a consulting proposal intake form, and ends with a check to run on the saved file before you send it.
Which Word versions and platforms support fillable forms
Microsoft's article on creating a form in Word that users can complete or print covers Word for Microsoft 365, Word 2024, Word 2021, Word 2019 and Word 2016 on Windows, and Word for Microsoft 365 and Word 2024 on Mac. It also says that creating fillable forms is not available in Word for the web.
That last point matters for planning. You need desktop Word to build the form. Whether the person filling it in can use a browser version is a separate question, so test that on the platform they will actually use before you send it.
Start with the form's job, not its fields
Before opening the Developer tab, write down what the form has to collect. For a consulting firm, a common case is a client intake form sent before a proposal is written. The goal is to get the facts needed to scope the work, so every field should feed a section of the proposal.
A useful intake form for a strategy review engagement might ask for:
- Client organisation and sponsor name (short text)
- Engagement type (a choice from a fixed list)
- Preferred start date (a date)
- Business problem in the client's words (longer text)
- Confirmations, such as "Data access can be arranged before kickoff" (check box)
Keep the list short. Each additional field is another chance for the person to stop. If you cannot say which proposal section a field feeds, remove it.
Microsoft's guide says you can start with a template through File > New or begin with a blank document. If you already have a proposal in Word, save a copy first and build the intake form in the copy.
Build the form in five steps (Windows desktop Word)
Step 1: Show the Developer tab
The content-control names and Properties commands in steps 1–4 below refer to Windows Word. Microsoft’s Mac instructions use Developer > Text Box, Check Box, or Combo Box, followed by Options to configure the selected field. Do not assume that the Windows Date Picker or Building Block controls are available on Mac.
The controls live on the Developer tab. Microsoft says the Developer tab is not displayed by default. On Windows, the steps are:
- Select File > Options > Customize Ribbon.
- Under Main Tabs, tick Developer.
- Select OK.
Microsoft's form article points Mac users to a separate set of instructions for showing the tab, so check that page for your version rather than assuming the Windows menu path.
Step 2: Lay out the form
Plan the layout before adding controls. A simple two-column table works well: labels in the left column, controls in the right. It keeps the fields aligned and gives you predictable spacing.
Write each label as a short phrase, for example "Client organisation" or "Preferred start date." Add one line of guidance below any label that could be misread, such as "Describe the problem in one or two sentences."
Step 3: Insert the content controls
Select a cell, then go to Developer > Controls and choose the control you want. According to Microsoft's form article, the options include:
- Rich Text Content Control and Plain Text Content Control for typed answers
- Picture Content Control for an image
- Building Block Gallery Content Control for choosing predefined blocks of text
- Combo Box and Drop-Down List for choosing from a list, with the combo box letting people type their own entry
- Date Picker Content Control for dates
- Check Box Content Control for yes/no confirmations
Microsoft's fillable form article also lists repeating section controls, group controls and legacy controls.
For the consulting intake form, a sensible match is:
| Field | Control |
|---|---|
| Client organisation, sponsor name | Plain Text Content Control |
| Engagement type | Drop-Down List |
| Preferred start date | Date Picker Content Control |
| Business problem | Rich Text Content Control |
| Data access confirmation | Check Box Content Control |
Use a drop-down list wherever the answers are a known set. It removes spelling variants and makes answers easy to scan.
Step 4: Set each control's properties
Select a control in the document, then choose Developer > Controls > Properties. Microsoft's fillable form article describes a General group with settings such as Title, Tag and the display style (bounding box, start and end tags, or none), plus a Locking group that covers preventing a control from being deleted and restricting edits.
For a drop-down list or combo box, Microsoft says to select Properties and then Add to enter each choice. For a date picker, Properties lets you set the date display format.
Some practical settings for the intake form:
- Give every control a Title. A clear title such as "Engagement type" helps the person filling it in and helps you find the control later.
- Edit the placeholder text. Replace the generic prompt with something specific, such as "Click and enter the sponsor's full name."
- Lock controls against deletion. This helps prevent a respondent from removing a field by accident. Check the exact wording of the option in your version of Word.
Draft language for the form. The words around the fields matter as much as the fields. Here is wording you could adapt for the top of the intake form:
Please complete each section before [date]. Your answers help us prepare a proposal that reflects your priorities. If a question does not apply, enter "Not applicable." Please do not include personal data about individuals beyond the sponsor's business contact details.
And for the closing confirmation:
I confirm that the information above is accurate to the best of my knowledge and may be used to prepare a proposal. This form does not commit either party to an engagement.
Have the engagement lead review this wording, and ask a qualified adviser to check any statement about data handling or commitment. If you would like a proposal layout to receive the answers, the consulting proposal template is an editable Word file with the sections the intake form is meant to feed.
Step 5: Protect the form
Without protection, a respondent can change your labels or move fields. Microsoft's Windows steps are Developer > Restrict Editing, then Yes, Start Enforcing Protection. On a Mac, Microsoft says to go to Developer > Protect Form, then save and close the form.
Microsoft's form article does not detail which editing restriction to choose or how passwords behave, so do not assume. Set the protection, then open the file as a respondent would and try to type in a field, edit a label and delete a control. Fix what does not behave as you intended before you distribute it. Keep an unprotected master copy so you can update the form later.
Common problems and how to fix them
The Developer tab is missing. It is hidden by default. Follow the Customize Ribbon steps above, or Microsoft's Mac instructions.
You cannot edit the form's design. The file may still be protected. On a Mac, Microsoft says Protect Form is a toggle, so switch it off to edit; on Windows, review the Restrict Editing settings you applied. Also check that you are not in Word for the web, which cannot create fillable forms.
People can still change the labels. The protection may not have been enforced, or the form may have been saved before it was applied. Reapply it, save, close and reopen the file, then test again.
The form looks different on paper. Microsoft notes that the boxes around content controls will not print. Make sure that each label makes sense without the box, and leave enough room for handwritten answers if people may print the form.
A colleague cannot fill it in. Check which Word version and platform they use. A person using Word for the web cannot rely on the same features you used to build the form.
Review criteria and final saved-document check
Before the form goes out, review it against these criteria:
- Purpose. Every field feeds a decision or a proposal section.
- Clarity. Labels are short, unambiguous and free of internal jargon.
- Control fit. Known answers use drop-down lists, dates use the date picker and confirmations use check boxes.
- Minimal data. You ask only for what you need to scope the work.
- Ownership. Someone is named to receive the completed form and act on it.
Then run a check on the saved file:
- Save the form, close it and reopen it. Confirm every control is still there.
- Fill it in yourself from start to finish, using the tab key to move between fields.
- Try to break it: edit a label, delete a control and paste a very long answer into a text field.
- Print it, or save a copy as PDF, and confirm the layout still reads well without the control boxes.
- Ask a colleague on the platform the client will use to complete it and report any problems.
- Keep the unprotected master and the distributed copy in separate, clearly named files, for example "Client-Intake-MASTER" and "Client-Intake-v1."
A form built this way will not decide what you should ask, and it does not replace a review of your data handling or contract terms. What it does is make the answers consistent, so the proposal that follows starts from clean inputs.
Sources: Create a form in Word that users can complete or print, Microsoft Support, Create a fillable form, Microsoft Support, Show the Developer tab, Microsoft Support
Last updated: September 26, 2026
Frequently Asked Questions
Related Articles
How to Add a Signature in Word (Line, Image or Digital)
Learn three ways to add a signature in Microsoft Word: a plain signature line, a scanned handwritten image, and a Microsoft Office signature line, with a consulting proposal example.
How to Add Headings in Word (Apply Styles, Check Structure and Fix Problems)
Add headings in Word with built-in heading styles, customize them once, check the structure in the Navigation pane and fix common problems, using a consulting proposal as the example.
How to Add Page Numbers in Word (Step by Step)
Learn the exact menu steps for adding page numbers in Microsoft Word, skipping the cover page, restarting numbering, and fixing common problems in a business proposal.
How to Compare Two Word Documents (Compare, Combine and Side by Side)
Compare two versions of a Word document with Review > Compare, know when to use Combine instead, and run a final check on the result, using a consulting proposal that came back from the client with edits.
How to Create a Template in Word (Save, Reuse and Edit a .dotx File)
Build a reusable Word template from a finished document, save it as a .dotx file, find it again under New, and check it before anyone uses it, using a consulting proposal as the worked example.
How to Insert a Table of Contents in Word (Step by Step)
Learn the exact menu steps for inserting an automatic table of contents in Microsoft Word, why headings matter, and how to fix common formatting problems.